How to replace an indoor staircase step by step
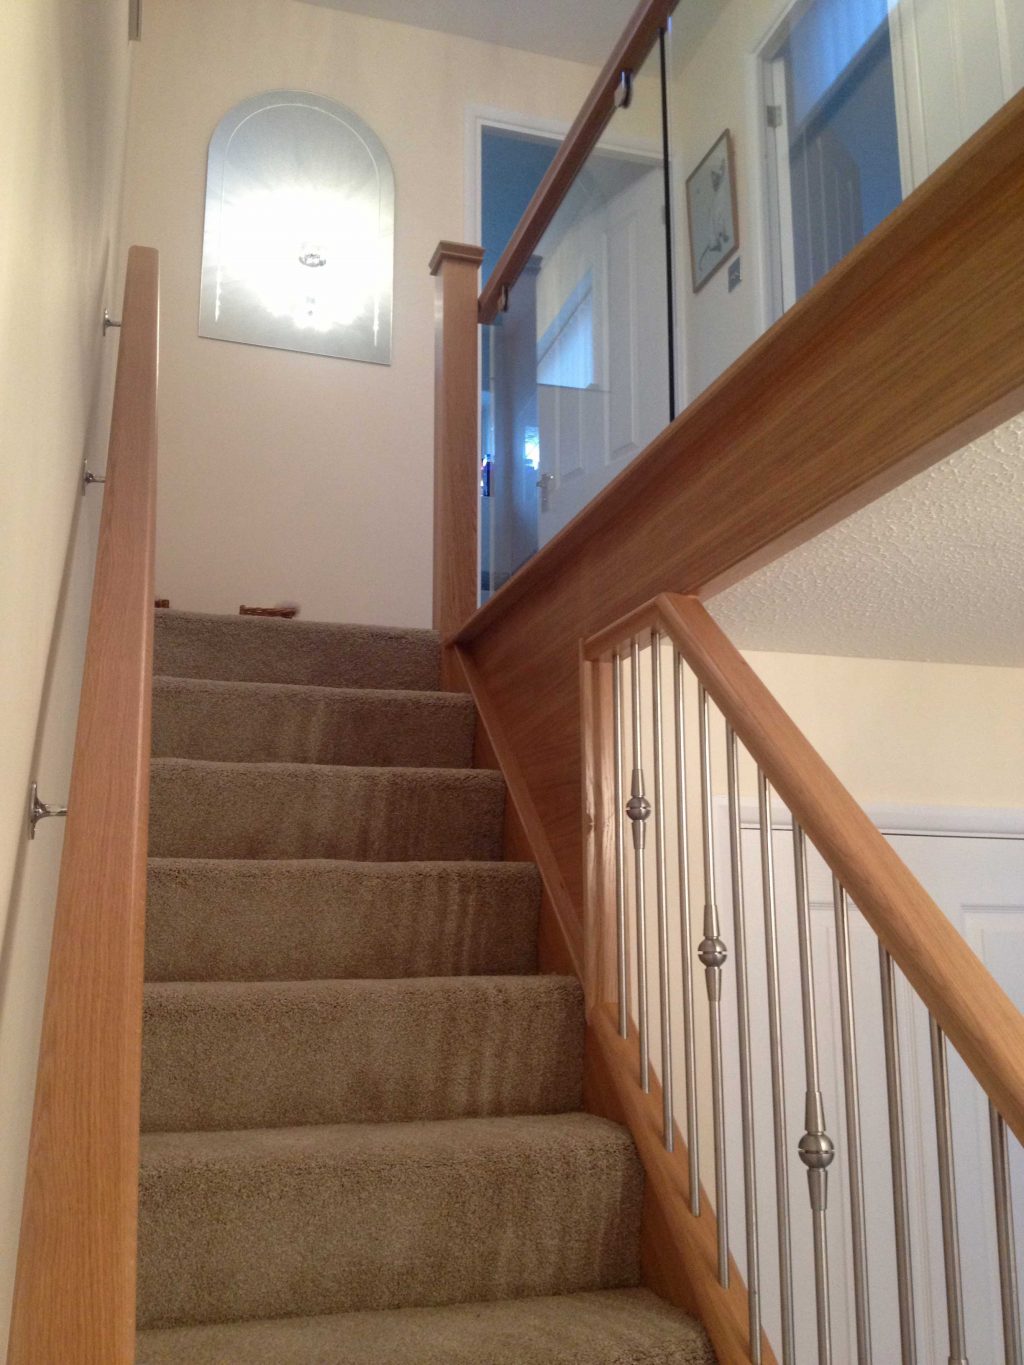
Replacing an indoor staircase in your home adds aesthetic value and also bring glamour and beauty to the entry of your home. Old raddled staircases are not only a risk to you and your loved ones but also reduce the value of your property over time. They lack treads which worn out over time, have splinters which could cause harm to you including your pets around. Taking on this noble task comes with many benefits and will not only improve on safety but add value to your home. The type of staircase you choose for your home depends on a number of things, including budget and the look you are trying to achieve. Staircases range from traditional handrails and spindles through to modern contemporary designs and even glass staircases. As long as the staircases use shatter resistant glass, this can be used to great effect.
Below, we look at how to replace an indoor staircase.
Removing the old indoor staircase
- First of all, you need to detach the handrail from the stair banister by unscrewing it from the rail fastener that holds it in place on the newel post (The Newel Post is the upright post that supports the star banister or handrail). To do this, you will need to unplug anything that is hiding the screws holding the handrail along with the post and on the railing too.
- With the screws holding the newel post in place exposed, you will need to unscrew then from beneath the stairs or at the bottom of the stairs. Lift the newel post off the floor to completely detach it from the staircase and dispose of it if you have no future use for it.
- Then comes the time to get rid of what brought beauty to the staircase, the balusters. Removing them might be a daunting task but is a step that you cannot bypass. They support the handrails between posts and are screwed to the treads. Unscrew all the spindles till the end of the staircase
- Use a ratchet to unscrew lag bolts that are holding the hand railing and rosettes if any that are between the handrail and the wall.
- Runners and carpeting installed on the staircase at this point need to get removed. Most times, they get off without much effort depending on how they were installed. It is easier lifting them then pulling up from one point to the other end. Do not forget to remove the padding placed under the carpet the same way as you removed the carpet.
- Using a pry bar, pry up the gripper rod installed to hold the runner or the carpet in place if you are looking to reuse treads of the stair. If you are not replacing the carpet, it is better removing the tack strip completely from the landing as well.
- From the top of the staircase, remove the stair treads and the risers using the pry bar till you reach the bottom. The risers are panel put at the back of the step while the stair treads are the steps. Since the stair treads were nailed down and glued on the staircase for safety, they will pose some difficulty removing them.
- The stair treads and the risers are held in place by the stringer which is the housing on each side of the stairs. You need to unscrew the screws and the bolts that hold down the stringer to remove it with much ease.
Installing the new indoor staircase
- Bring out the new stringer board and bolt it to the header and the support beam under the landing on the outermost side. Use heavy-duty L-brackets to hold them in place and a level to ensure the header and the floor is square with the stringers before you fasten the bolts.
- At the top step, insert a 2-by-4 brace between the stringers and screw the brace in place. This extra harnessing is necessary to reduce instances of wear and tear on the indoor staircase as time goes by.
- Install the new risers by placing them from the top stair down and use wood glue to hold the risers down. Use a brad nailer and 8d finish nails to secure the raisers in place permanently. Use a filler or wood putty to fill the nail holes that develop to get a smooth finish.
- With the risers in place, fix the treads in place this time round from the bottom as you work your way to the top. Apply wood glue to harness each stair tread in place as you insert trim head screws of three-inch each to keep the treads stable. At this point, screw each stringer to the treads, with one close to the front and the other one close to the back, evenly spacing them across the width to maintain a good look.
- Use wood putty of matching colours to fill the holes left by the screws on the top of the treads.
- Fit the newel post close-fitting on the step use lag bolts to secure them in place. Install one post at the top of the step and another one at the bottom. Ensure that the newel posts are straight by using a level.
- Before the installation of the balusters, drill holes in the treads and the landing along each stair. The baluster bit attachment on the drill will make a hole with threads to screw and hold the baluster in place.
- Set in the baluster screws into the baluster at the bottom and hold them down to the treads using a drill.
- There are screws included in the kit for the rail fastener and you need to screw the fasteners into each newel post at this point.
- Remember, you have not yet placed the railings. Loosen the newel post slightly and insert the railing into the fastener and each baluster. Do this gently to maintain a scratch-free surface from the bottom as you work your way to the top.
- Do not forget to tighten up the newel posts that you had loosened to give room to fix the railings and conclude by tightening the rail fasteners too.
With this handy guide, you will easily manage to replace your indoor staircase without necessarily having to ask for help.