Trigger Finger Splints: Complete Guide to Non-Surgical Treatment and Recovery
Introduction: What are Trigger Finger Splints and Why They Matter
Trigger finger splints are medical devices designed to immobilise the affected finger, helping manage the painful locking and clicking symptoms of trigger finger without surgery.
These specialised splints work by keeping your finger straight, allowing the inflamed tendon sheath to heal while preventing the triggering motion that causes discomfort.
In this comprehensive guide, you’ll discover the different types of finger splints available, how they work to treat symptoms of trigger finger, their effectiveness rates compared to steroid injections and surgery, and a step-by-step usage guide for optimal results.
If you’re experiencing a finger that gets stuck in a bent position and snaps back straight, you’re likely dealing with trigger finger. Splinting offers hope for mild cases and can be an effective treatment option for patients seeking to avoid corticosteroid injections or open surgery. Studies show that consistent splint use can help 87% of patients avoid surgical intervention when applied correctly.
Understanding Trigger Finger Splints: Key Concepts and Definitions
Core Definitions
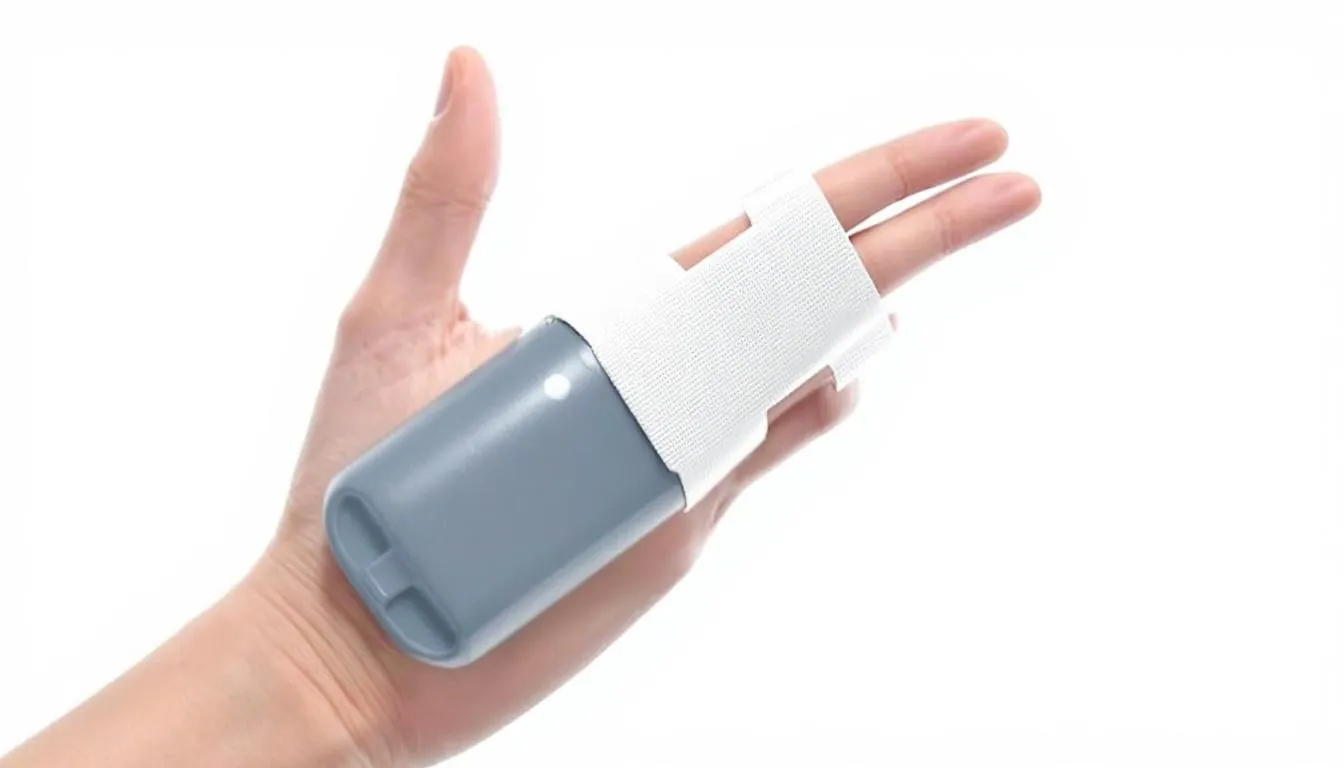
Trigger finger splints are orthotic devices that immobilise your affected finger in a straight position, preventing the painful snapping or locking that occurs when the tendon gets caught in the inflamed tendon sheath. Unlike general finger supports, these splints specifically target the middle joint (metacarpophalangeal joint) where trigger finger symptoms originate.
Key terminology includes:
-
Static splints: Rigid devices that completely immobilise the finger
-
Dynamic splints: Allow controlled movement while preventing full flexion
-
Finger immobilisation: The process of restricting finger movement to promote healing
-
Tendon rest: Allowing the inflamed tendon and surrounding tissues time to recover
How Splints Work for Trigger Finger
The mechanism behind splint effectiveness lies in immobilisation and pressure relief. When you wear the splint, it keeps your finger straight, reducing friction between the tendon and the thickened tendon sheath that causes triggering. This immobilisation allows inflammation to subside over several weeks.
The pathology of trigger finger involves thickening of the A1 pulley—a tunnel through which your finger tendons pass. By preventing the finger from bending into the triggering position, splints give this inflamed area time to heal. The relationship between finger rest and the healing process is direct: less movement equals less irritation, leading to symptom improvement in most mild cases.
Why Trigger Finger Splints are Important in Hand Therapy
Research demonstrates that trigger finger splints offer compelling advantages as a first-line treatment. Clinical studies show that 87% of patients avoid surgery when using splints consistently over 6-10 weeks. This makes splinting a highly effective treatment option worth trying before considering more invasive interventions.
Cost-effectiveness represents another significant advantage. While steroid injection costs in the UK NHS system are generally lower than private healthcare, surgery can still be costly and involve longer waiting times. Quality finger splints typically cost between £10-£50 from UK suppliers. Studies indicate 80% symptom improvement in mild cases with proper splinting protocols, making this approach both economical and effective.
The non-invasive nature of splinting eliminates risks associated with corticosteroid injections, such as tendon rupture, skin irritation, or the need for a second injection. Unlike open surgery requiring a small incision and potential wound complications, splints carry minimal risk when used properly.
Types of Trigger Finger Splints Comparison Table
| Splint Type | Material | Adjustability | Use Schedule | Price Range | Effectiveness |
|---|---|---|---|---|---|
| Static Rigid | Plastic/Aluminium | Limited | Night only | £15-25 | 85% (mild cases) |
| Neoprene Wrap | Neoprene fabric | High | Day/Night | £10-20 | 75% (early symptoms) |
| Dynamic Splint | Plastic/Metal springs | Moderate | Daytime | £30-50 | 80% (moderate cases) |
| Custom-fitted | Thermoplastic | Maximum | 24-hour | £40-60 | 90% (all severities) |
| Popular brands available in the UK include Dr. Arthritis splints, Oval-8 finger splints, 3pp trigger finger splints, and Mueller adjustable supports. Each offers different materials and features suitable for various sizes and severity levels. |
|
|
|
|
|
Step-by-Step Guide to Using Trigger Finger Splints
Step 1: Selecting the Right Splint
Begin by assessing your trigger finger symptoms. Mild cases with occasional clicking respond well to nighttime static splints, while severe locking may require 24-hour immobilisation with dynamic splints. Identify which fingers are affected—ring fingers and thumbs are most commonly involved in cases of trigger finger.
Measure your affected finger carefully, as splints come in various sizes. The splint should fit snugly without being tight enough to cause colour change or numbness. Consider material preferences: neoprene offers breathability for extended wear, while rigid plastic provides maximum immobilisation for severe symptoms.
Step 2: Proper Application and Fitting
Position the splint to keep your finger straight, with the middle joint (metacarpophalangeal joint) in neutral position. Secure with Velcro straps or elastic bands, ensuring the splint doesn’t slide or rotate during movement. The fit should be snug but not tight—you should maintain normal sensation and circulation.
Check for proper positioning by ensuring your finger remains straight when attempting to bend it. Adjust the straps if you experience discomfort, skin irritation, or any colour change in your fingertips. The splint should support your finger without creating pressure points on the skin.
Step 3: Wearing Schedule and Monitoring Progress
Most patients need to wear the splint for 6-10 weeks, starting with nighttime use and progressing to full-time wear if symptoms persist. Track your improvement by noting reduced triggering, less morning stiffness, and improved finger function during daily activities.
Remove the splint periodically for gentle exercises and stretches to prevent joint stiffness. Monitor for signs of healing: decreased pain, reduced swelling in the palm, and smoother finger movement. If symptoms don’t improve after several weeks of consistent use, consult your healthcare provider or GP about other treatments.

Common Mistakes to Avoid with Trigger Finger Splints
Mistake 1: Wearing the splint too loosely reduces effectiveness by 40-60%. A loose splint allows triggering to continue, preventing the tendon from getting adequate rest needed for healing.
Mistake 2: Inconsistent use undermines treatment success. Wearing splints only when symptoms flare, rather than following a consistent schedule, prevents the sustained immobilisation necessary for tendon sheath healing.
Mistake 3: Continuing strenuous hand activities while wearing daytime splints can worsen symptoms. Activities requiring grip strength or repetitive finger movements should be modified during the healing period.
Pro Tip: Set phone reminders to ensure consistent wearing schedules and regular position checks. This simple strategy significantly improves treatment adherence and outcomes for most patients with trigger finger.
Real-Life Case Study: Successful Trigger Finger Splint Treatment
Case Study: Sarah, a 58-year-old administrative assistant in London, developed moderate trigger finger in her ring finger after months of intensive computer work. Her symptoms included daily finger locking, morning stiffness, and pain rated 7/10, leading her to consider steroid injection.
Starting situation: Sarah experienced triggering 8-10 times daily, with her finger getting stuck in a bent position requiring manual straightening. The pain interfered with her job performance and sleep quality.
Treatment steps: Sarah used a Dr. Arthritis night splint for 8 weeks, combined with anti-inflammatory medication prescribed by her GP and gentle exercises. She wore the splint 10-12 hours nightly and modified her work setup to reduce repetitive finger stress.
Results: After 8 weeks, Sarah achieved 90% symptom reduction with no locking episodes. Her pain decreased to 1/10, and she returned to normal work activities without triggering. Six months later, she remained symptom-free, demonstrating the long-term effectiveness of consistent splinting.
FAQs about Trigger Finger Splints
Q1: How long should I wear a trigger finger splint each day? A1: Most effective when worn 8-12 hours overnight for mild cases, with some moderate to severe cases requiring 24-hour wear initially. Gradually reduce wearing time as symptoms improve.
Q2: Can I shower or get the splint wet? A2: Remove waterproof splints before showering to prevent skin irritation. Neoprene splints dry quickly but should be cleaned regularly to prevent odour and maintain skin health.
Q3: Will splinting cure my trigger finger permanently? A3: Studies show 87% long-term success rate when splinting is combined with activity modification and targeted exercises. However, symptoms may return if triggering activities resume without proper precautions.
Q4: What’s the difference between £15 and £40 trigger finger splints? A4: Higher-end splints offer better materials, enhanced adjustability, and improved durability, but basic splints can be equally effective for symptom relief. The key is proper fit and consistent use regardless of price.
Conclusion: Key Takeaways for Trigger Finger Splint Success
The four most important factors for trigger finger splint success are: consistent wear following your prescribed schedule, proper fitting to maintain finger immobilisation, commitment to 6-10 weeks of treatment, and combining splinting with gentle exercises to prevent stiffness.
With an 87% success rate in helping patients avoid surgery, splinting represents a first-line treatment worth trying before considering steroid injections or open surgery. The low risk profile and cost-effectiveness make it an attractive option for most cases of trigger finger.
Take action today by measuring your affected finger for proper splint sizing, starting with nighttime splinting, and tracking your progress weekly. If you experience no improvement after 8 weeks or notice worsening symptoms, consult your healthcare provider or GP about additional treatment options. Remember, early intervention with splinting often prevents the need for more invasive treatments down the road.