An Ultimate Guide on How to Lay a Patio for Beginners
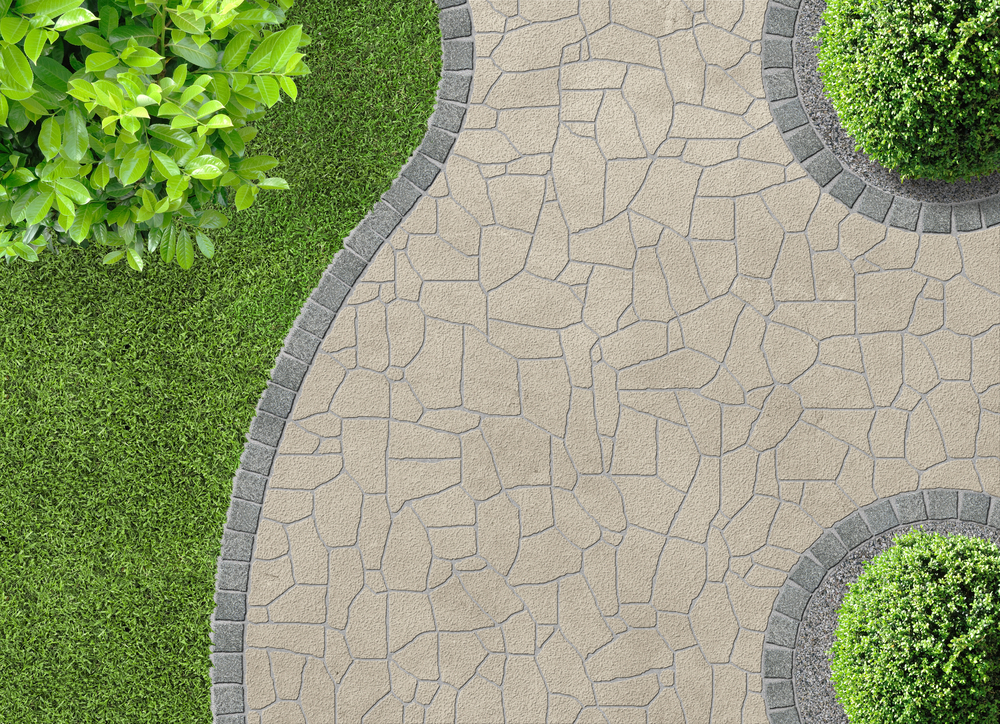
aesthetic garden deisgn detail in aerial view
Laying a patio is not a complex job and will only take a couple of days. The beauty of it is that you do not require technical skills; gather the right tools and apply some simple DIY skills and you will have your patio well laid in no time. However, it is important to note that laying a patio can be tedious and labour intensive, so be well prepared!
7 Steps on How to Lay a Patio for Beginners
Before getting down to building your patio, you first need to gather all the tools, equipment and materials required.
Tools and equipment needed:
• Spade
• Rake
• Bucket
• String
• Wheelbarrow
• Builders square
• Cement
• Hardcore
• Sand
• Wooden pegs
• Hammer
• Brick jointer
• Brick trowel
• Broom
• Spirit level
Safety kit
• Dust maks
• Hand gloves
• Knee pad
• Safety goggles
Step 1: Plan
After deciding where you are going to lay your patio, formulate a plan. Draw your plan to scale on a graph paper putting in all the dimensions. Consider permanent fixtures like maintenance hole(manhole) covers, walls and large plants that may interfere with your patio’s plan. The patio’s surface should be at least 150mm below your house’s damp proof course to prevent rainwater from bouncing back off and hitting the wall above.
Additionally, if you are laying your patio next to the house, ensure that it lies in a gradual slope away to drain off all the rainwater. In addition, allow a 25mm drop after every 1.5m.
Step 2: Measure Up
Calculate the total area of your patio in square metres. This helps you determine the amount of paving slabs you will need to cover the entire region. Each pack of paving slabs contains a clear indication of the area it covers, making calculations easy unless you are using differently sized slabs.
Step 3: Mark it Out
Now transfer your paper plan to the actual ground and mark it out using builders square, string and wooden pegs. Make sure the marks on the top surface are in line with any existing structures for uniformity.
Step 4: Prepare the Base
After marking out your patio, it’s now time to prepare the base. Dig out any turf or plants to a depth of about 150mm. Lay a solid base for your patio by pouring in hardcore to a depth of about 50-80mm. Use a rake to distribute the hardcore and even out any bumps. You may also hire a powered wacker, which gives a more uniform solid base. Add a layer of bedding mortar on top of the hardcore base. Prepare your mortar by mixing five parts of cement to one part of cement.
Step 5: Lay Down the Paving Slabs
Before laying down your slabs, check to see that the string guidelines are square to your house. Now lay your first slab on the bed of mortar and check with the string guideline for the correct alignment. Protect the slab with a block of wood and tap it in using a hammer to your desired level, preferably 5-8 mm deep. Repeat this process until you have laid down all the slabs and check to maintain the patio’s slope. When laying your paving slabs, leave 1 cm gaps between them, which you will fill later.
Step 6: Point (Fill the Gaps Between the Slabs)
After laying all your slabs, leave the mortar to dry for at least 24 hours before pointing. To fill in the gaps, press mortar in the gaps using a mortar trowel. Brush off any excess mortar before it dries on the surface. After the pointing mortar is dry, wash the slabs to remove any traces of cement or sand.
Step 7: Maintain Your Patio
Your patio is now ready. Here are a few maintenance tips.
• If you want to cover or seal your patio to prevent water seepage or fading, it is advisable to check the manufacturer’s recommendation for the right material to use.
• Check out for any loose or damaged slabs after every three months.
• If the patio freezes, use a stiff brush or plastic shovel to remove the snow.
• Clean the patio regularly to remove any dirt, dust or stains.
Conclusion
Building a patio is one of the easiest and durable ways to give your outdoor space a new look. Follow the steps above to build a patio of your dreams. When buying your paving slabs, ensure that they are of the same type for consistency and uniformity in shape and colour.